Installing WordPress
WordPress is the most widely used website platform in the world, and Kapsule Cloud makes installation automatic. This guide covers two installation paths, how to manage your credentials, accessing the admin panel, and the first steps you should take after a fresh install.
Two Ways to Install WordPress
#
Method A: Install During Site Creation (Recommended)
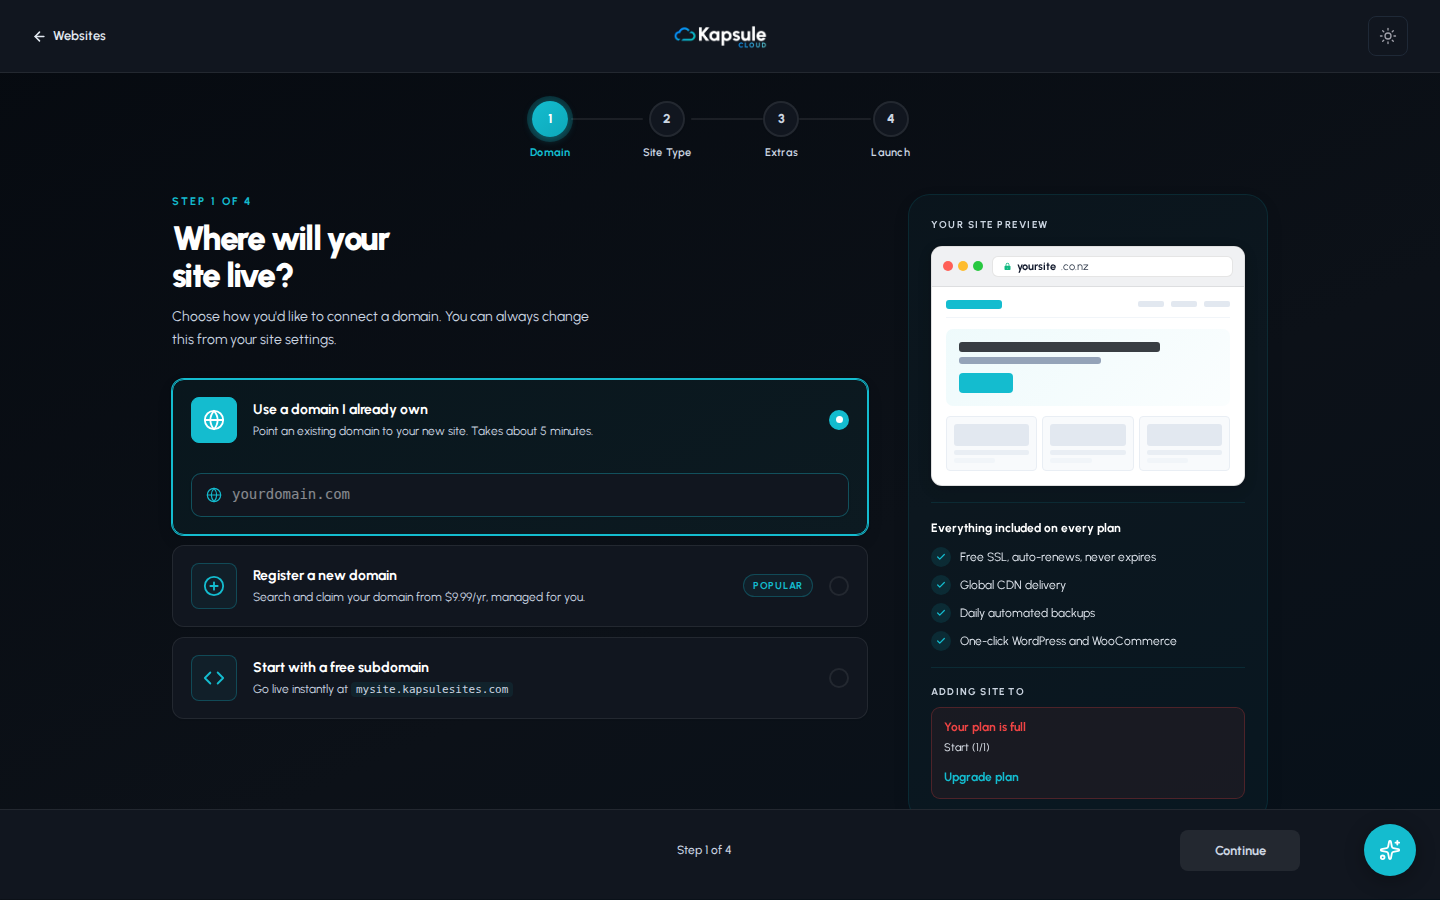
The fastest way to install WordPress is through the Add Website wizard in KPanel.
- Sign in to kpanel.kapsulecloud.com
- Click Websites in the sidebar
- Click Add Website
- Select WordPress as the site type
- Choose your domain from the dropdown
- Select a PHP version (use the latest available unless you have a specific requirement)
- Fill in your WordPress details:
- Site Title: The name that appears at the top of your site
- Admin Username: Your login name for /wp-admin
- Admin Password: A strong password (use the generator if provided)
- Admin Email: Your email for admin notifications and password resets
- Click Create Site
KPanel handles the full install: it creates the database, configures the web server, downloads WordPress core, runs the installer, and requests your SSL certificate. The whole process takes about 60 to 90 seconds.
Your admin password is shown only once during this wizard. Copy it into a password manager before clicking Create Site. If you lose it, you will need to reset it through KPanel or by contacting support.
Method B: Install WordPress on an Existing Empty Site via Kora
If you already have a site created in KPanel but chose the Empty type, or if you want to add WordPress to an existing site, you can use Kora, Kapsule's AI assistant built into KPanel.
- Go to Websites in the sidebar and open your site
- Click the Kora icon or button within the site dashboard
- Type: Install WordPress on this site
- Kora will confirm the site and domain, then walk you through the same credential setup
- Confirm the details and Kora will run the installation
Kora is particularly useful if you want to install WordPress on a subdomain or want to customise the database prefix or table names during install. Just describe what you need in plain language.
Your WordPress Credentials: What They Are and Where to Save Them
After installation, you have two sets of credentials to keep track of:
WordPress Admin Credentials (for /wp-admin):
- Username: the admin username you chose during setup
- Password: the admin password you chose during setup
- Admin URL:
https://yourdomain.com/wp-admin
Database Credentials (for advanced use):
- These are generated automatically by KPanel
- Find them in KPanel under Websites > [your site] > database
- You will need these if you ever need to manually connect a database tool or migrate the site
Use a password manager (1Password, Bitwarden, or similar) to store both sets of credentials. Keeping them in a plain text document on your desktop is a security risk.
Accessing the WordPress Admin Panel
Your WordPress admin panel is always at:
https://yourdomain.com/wp-admin
Replace yourdomain.com with your actual domain name. The admin panel requires your WordPress admin username and password, not your KPanel credentials. These are separate logins.
The KPanel login and the WordPress admin login are completely separate. Your KPanel email and password will not work at /wp-admin. You need the WordPress-specific admin credentials set during installation.
First Steps After Installing WordPress
Once you are logged in to /wp-admin, take a few minutes to complete these setup steps:
1. Set Your Timezone
Go to Settings > General and set the Timezone field to your local timezone. WordPress uses this for scheduling posts and displaying dates correctly.
2. Set Your Permalinks
Go to Settings > Permalinks and select Post name as the permalink structure. This gives you clean URLs like yourdomain.com/about instead of yourdomain.com/?p=123. Click Save Changes after selecting.
After changing permalinks, WordPress rewrites the server configuration file. If your site shows 404 errors after this change, return to the Permalinks screen and click Save Changes again without making any changes. This refreshes the configuration.
3. Install a Security Plugin
Go to Plugins > Add New and search for a reputable security plugin. Install and activate it, then follow its setup wizard. A security plugin helps block brute-force login attempts, monitors file changes, and keeps your installation hardened against common attacks.
4. Update Everything
Go to Dashboard > Updates. If there are any updates available for WordPress core, themes, or plugins, install them now. Fresh installs occasionally ship with components that have updates available.
5. Delete Unused Themes and Plugins
Go to Appearance > Themes and delete any themes you are not using. Do the same in Plugins > Installed Plugins for any plugins you did not intentionally install. Unused themes and plugins are a common attack vector.
6. Set Your Site URL and Email
Go to Settings > General and confirm:
- WordPress Address (URL): should be
https://yourdomain.com - Site Address (URL): should be
https://yourdomain.com - Administration Email Address: should be your active email address
Common Post-Install Questions
The site is showing "Coming Soon" or a placeholder page. This is the default WordPress theme active before you build your site. Go to /wp-admin and start customising, or install your preferred theme from Appearance > Themes.
I see a white screen or PHP error after install. Go to KPanel, open your site settings, and check the PHP version. Try switching to the previous major version. Also check Plugins in /wp-admin and deactivate all plugins to rule out a plugin conflict.
I cannot see my domain in the site creation dropdown. Your domain is not yet connected or DNS has not propagated. See Adding and Connecting Your Domain.