Setting Up Your Email Mailbox
This guide walks through creating a mailbox at your domain, from prerequisites to sending your first test email. It also covers how MX records work, what to do if your domain uses external nameservers, and how to use Kora to speed up the process.
Prerequisites
Before creating a mailbox, confirm two things:
-
Your domain has been added to your Kapsule account. Go to KPanel > Domains and confirm your domain is listed.
-
Your domain is using Kapsule's nameservers. This is the most common reason email does not work after setup. If your domain is using Kapsule's nameservers (ns1.kapsulecloud.com, ns2.kapsulecloud.com, ns3.kapsuledns.com, ns4.kapsuledns.com), the MX records are set automatically and no further DNS action is required.
If your domain uses nameservers at another provider (for example, your domain registrar's default nameservers), Kapsule cannot automatically configure your MX records. You will need to manually add Kapsule's MX records at your DNS provider. See the section below on external nameservers.
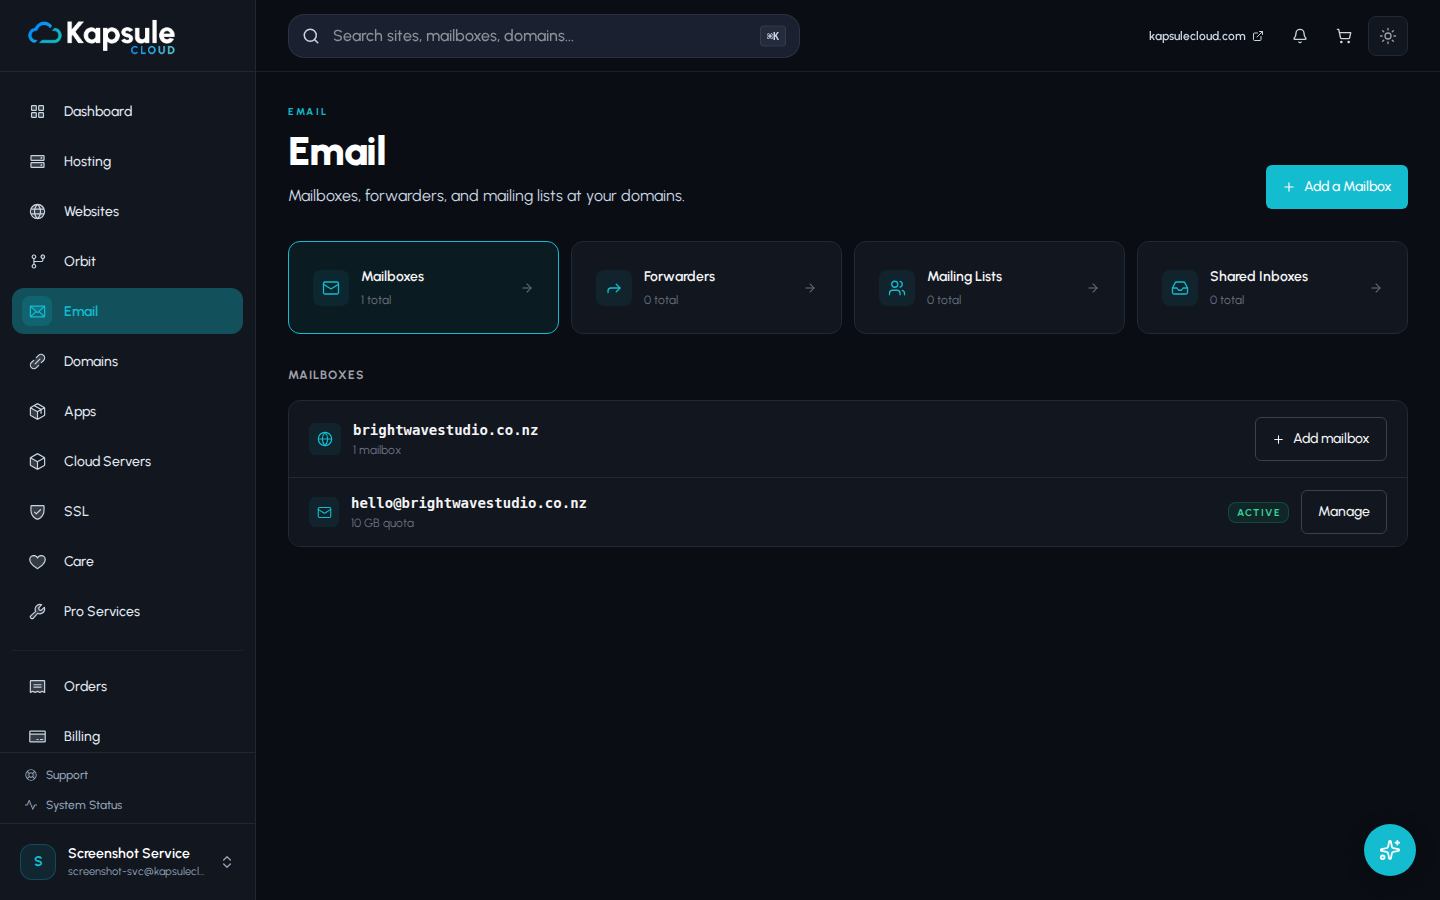
Creating a Mailbox via KPanel
- Sign in to kpanel.kapsulecloud.com
- Click Email in the left sidebar
- Click Add a Mailbox
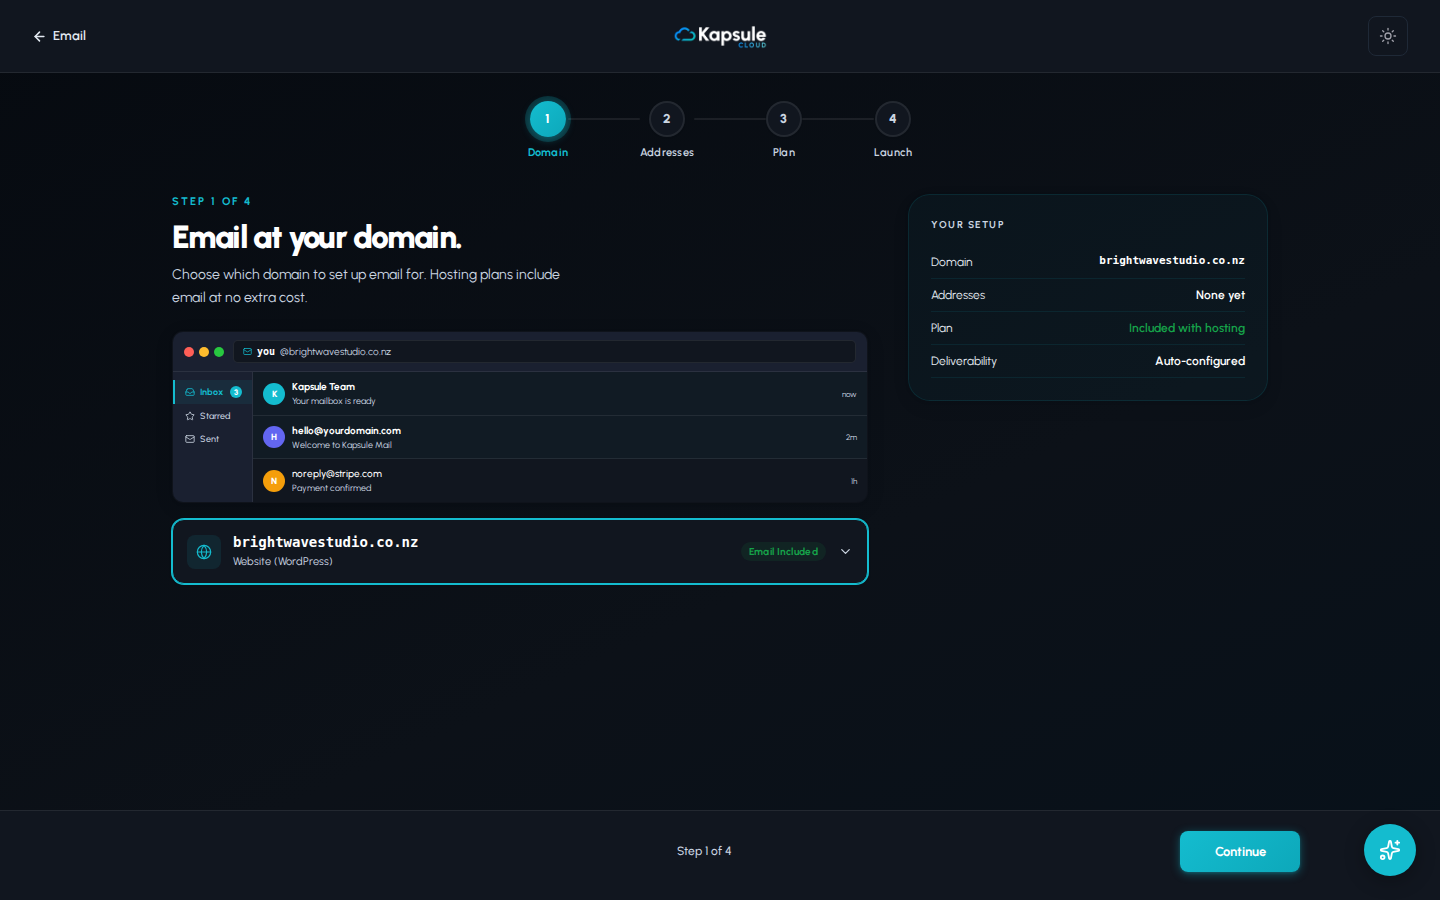
- Fill in the mailbox details:
| Field | What to Enter |
|---|---|
| Mailbox Name | The part before the @ symbol (for example, hello for hello@yourdomain.com) |
| Domain | Select your domain from the dropdown |
| Password | Choose a strong password (12 or more characters, mix of letters, numbers, symbols) |
| Quota | Storage limit for this mailbox. Leave at the default or set a custom limit in MB |
- Click Create Mailbox
The mailbox is created immediately. You do not need to wait for propagation.
Use Kora to create mailboxes quickly. Open Kora and type: "Create a mailbox hello@yourdomain.com with a secure password." Kora will set it up and show you the credentials.
Setting Quota
Quota controls the maximum storage a mailbox can use. If a mailbox reaches its quota, incoming emails will be rejected until old messages are deleted or the quota is increased.
Choose quota based on expected email volume:
- Light use (newsletters, occasional contact form replies): 1,000 MB (1 GB)
- Regular business use: 2,000 to 5,000 MB (2 to 5 GB)
- Heavy use (large attachments, long archives): 10,000 MB (10 GB) or higher
You can change the quota at any time from KPanel > Email > click the mailbox > Edit.
Quota applies per mailbox. If you have five mailboxes each set to 5 GB, your total email storage usage could be up to 25 GB. Check your plan's storage limits in KPanel under Plans.
Testing Your Mailbox
After creation, send a test email to confirm everything is working:
- Open webmail at webmail.kapsulecloud.com
- Sign in with your full email address (for example, hello@yourdomain.com) and the password you set
- Click Compose and send a test message to yourself or another address you can check
- Confirm the message arrives in the inbox
If the email is not delivered within a few minutes, see the troubleshooting steps below.
How MX Records Work with Kapsule
MX (Mail Exchanger) records tell the internet which server handles incoming email for your domain. When your domain uses Kapsule's nameservers, these records are created automatically when you add your first mailbox. You do not need to do anything manually.
If you go to KPanel > Domains > your domain > DNS Records, you will see MX records pointing to Kapsule's mail servers already in place. These are managed automatically and should not be deleted or modified.
If Your Domain Uses External Nameservers
If you are keeping DNS management at your registrar or another DNS provider and not using Kapsule's nameservers, you need to manually add MX records at your DNS provider.
Add the following MX records:
| Type | Host/Name | Value | Priority |
|---|---|---|---|
| MX | @ (or your domain) | mail.kapsulecloud.com | 10 |
Contact support@kapsulecloud.com if you are unsure of the exact MX values for your account. The team can provide the specific records you need.
After adding MX records, allow up to 30 minutes for DNS changes to propagate before testing.
The easiest way to avoid this complexity is to use Kapsule's nameservers for your domain. This lets Kapsule manage all DNS records automatically, including MX, SPF, DKIM, and DMARC, which significantly improves email deliverability.
Troubleshooting: Email Not Arriving
Work through this checklist if your mailbox is not receiving email:
-
Check the domain's MX records. Use a DNS lookup tool and search for the MX records on your domain. They should point to Kapsule's mail servers.
-
Confirm the mailbox was created successfully. Go to KPanel > Email and verify the mailbox appears in the list.
-
Check the mailbox is not over quota. Open the mailbox in KPanel and look at the storage usage.
-
Check the sender's mail did not bounce. Ask the sender to check for a bounce message. The bounce will contain an error code explaining the delivery failure.
-
Check spam/junk folders in webmail. Sometimes legitimate email is caught by spam filters. Log in to webmail and check the spam folder.
-
Wait for DNS propagation. If the mailbox was just created and the domain's MX records are new, allow up to 30 minutes.
If none of these steps resolve the issue, contact support@kapsulecloud.com with your domain name and mailbox address.